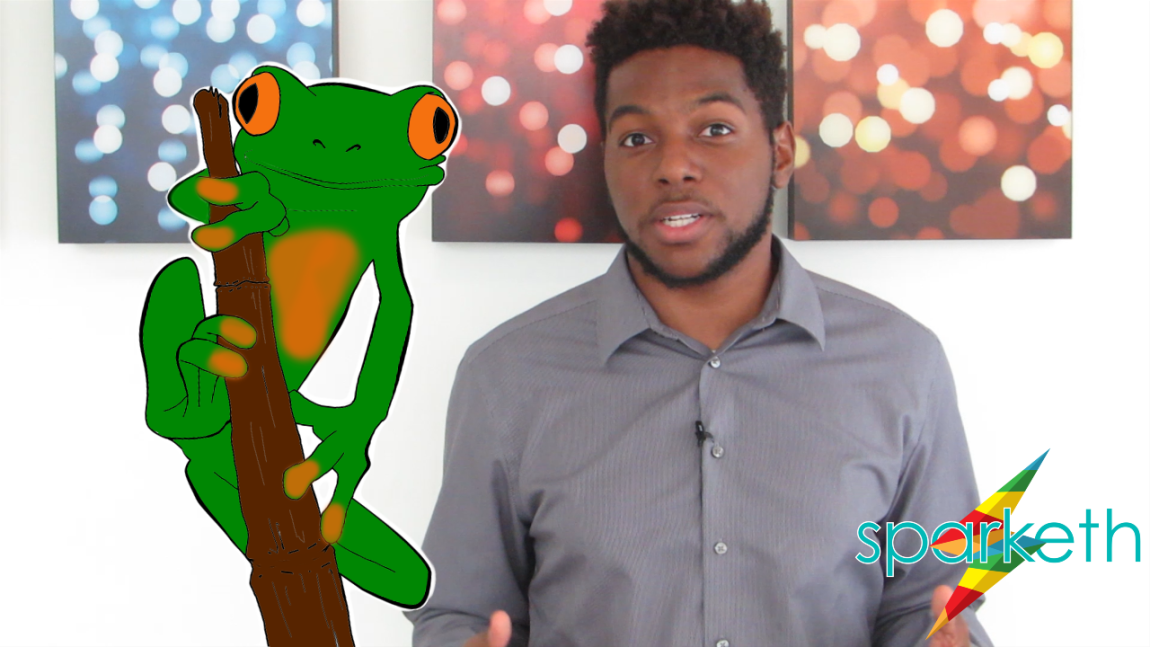
Kids love drawing any kind of animal and sometimes bugs. So in this course, we will take you step-by-step to draw an awesome cartoon tree frog drawing. Tree frogs are fun amphibians and have been around for millions of years. Seriously it’s a fact!
There will be 3 main parts to this beginner activity. Each part shouldn’t take any more than 5 minutes each. So slot out 15 minutes, pick up your supplies, grab your kids, teens, homeschoolers, children, friends, guests or whoever and let’s get started.
3 Main Steps:
1. Sketch your tree frog drawing
2. Outline the drawing
3. Color and add details
Sketch Your Tree Frog Drawing
Ok, for the first part you will want to grab a sheet of drawing paper and a 2b pencil. If you don’t know what a 2b pencil is, grab any pencil you can find around the house. 2b simply stands for the softness of the pencil lead which creates darker or lighter drawing. Some people like their pencils lighter or darker than 2b.
Chances are any pencil you grab in your house will be a 2b pencil because they are the writing and drawing standard today.
Start your tree frog drawing by sketching out two circles and a big oval. These shapes will represent the eyes and head of your tree frog. Draw the big round oval first and put it closer to the top of your sheet of paper. Then draw the circles for eyes on the outer left and right sides of the oval. Make sure to draw your circles the same size.
Next, you want to add the details of the face. So sketch in the mouth, nostrils and eye sockets. Don’t be afraid to give your tree frog some style and personality. Add a smile, or a grin, or even a laughing face.
Lastly, you’ll want to add the body, hands, feet and an object for your tree frog to hang on. We drew a tree branch but you can draw whatever object you like. For example a hand, a bottle, or an umbrella.
Outline the Drawing
Now we’re on the easiest of the three parts, outlining. Grab your drawing pens and get ready to get drawing.
Start with your fine point pen and outlining your pencil sketch. Outline in the same order you sketched your tree frog. So start with the head and eyes and move down to the body and stick. Outline slowly and carefully so your lines are straight and dark. If you mess up or wiggle a little don’t worry about it now. We will add thicker lines later on.
Voila. Now your tree frog drawing looks much more solid and defined.
Next, grab an eraser and we’re going to erase all your sketch marks. Before you start erasing, lightly blow your pen outline so it dries a little quicker. Once your outline is dry, start lightly (very lightly) erasing over the pencil and pen lines of your drawing. Be sure not to smudge your pen outline by erasing too fast or hard.
Now we’re on the last part of outlining where we add thicker and more interesting pen lines. Grab a thicker brush pen and start going over your thin pen lines with thick brush strokes. Don’t make all your lines thick, just pick and choose a few lines to make thicker for emphasis or style.
And now we are finished with our outlining. If you made any mistakes, don’t be afraid to go back over it with your thicker brush pen.
Color and Add Details
For the final step of our cartoon tree frog drawing, we will color with markers and add details with colored pencils. This is the best part of the whole drawing so make sure to have fun and be creative with your colors and details.
Start by grabbing your green markers. Get at least three different green markers to color your tree frog’s body. Tree frogs have more than one green in their color but many people make mistakes by coloring frogs with only one color.
Color the arms, legs, hands, feet, and face with your green markers
Next, you will color the belly, eyes, and object the tree frog hangs on. Some tree frogs have bright bellies so we colored the belly beige-orangish. Then we colored the eyes bright orange to give the frog an exotic look. And finally, we used markers to make our tree branch black and brown.
Finally, we add the details to our tree frog drawing with colored pencils. Take your yellow-colored pencils and add some depth to eyes. Use your white colored pencils to add highlights to your eyelids, and mouth. And use your light green colored pencil to finish off your drawing with some green accents on the fingers and feet.
And that is how you make your very own cartoon tree frog drawing for kids. If you enjoyed this activity and want unlimited access to our tree frog course and more courses with high-quality videos, tips and animations, worksheets and more, become a Sparketh member today.


